The Course
Find out more about our layout.
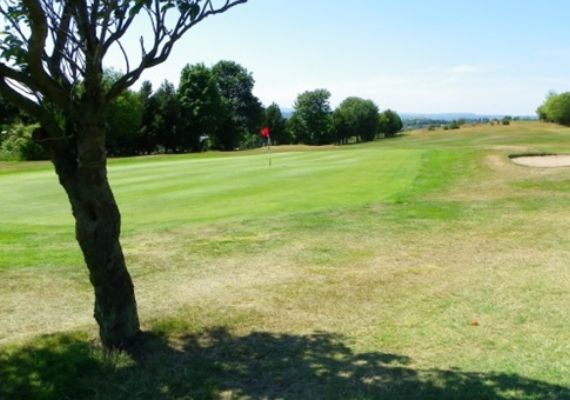
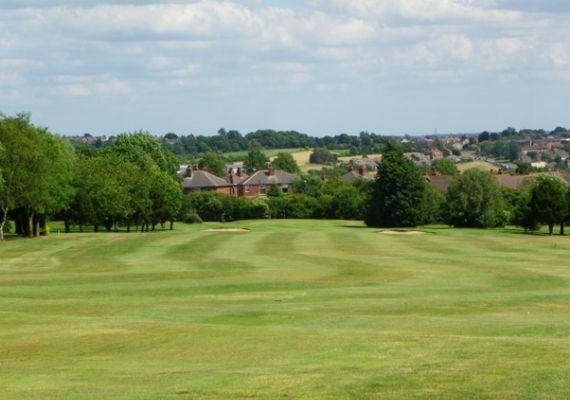
1st Hole - Laurels Reach
1st Hole Information
- Par 4 - Stroke Index 15
- White Yards 256 - Yellow Yards 251
- Ladies - 256 Yards - Par 4 - SI 7
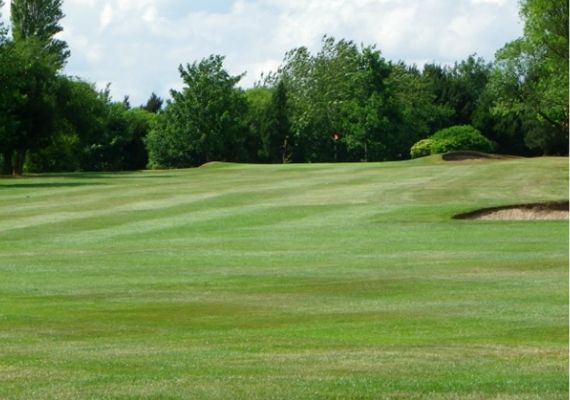
Short opening Par 4 with a narrow, two tiered green that is protected well with bunkers left and right.
Longer hitters can drive the green but with danger left and right it is a classic risk and reward play. Shorter hitters can choose to hit a tee shot somewhere around the fairway bunker on left which then leaves a shot of around 80 yards to the green.
Getting the ball on the right level is key to avoiding a three-putt on this undulating green.
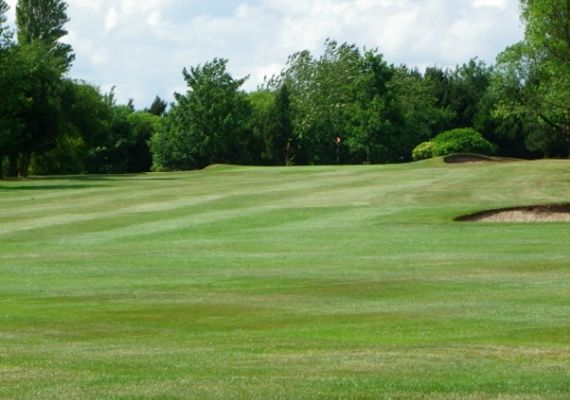
2nd Hole - The Battery
2nd Hole Information
- Par 4 - Stroke Index 1
- White Yards 421 - Yellow Yards 406
- Ladies - 339 Yards - Par 4 - SI 5
Long Par 4 and a good tee shot required to reach this hole in two shots. The fairway is a dog leg to the right and covers ground used as air defence during World War 2.
There are two fairway bunkers short of the green and second shots are again demanding with out of bounds all the way up the right hand side of the hole.
3rd Hole - Kestrels Hover
3rd Hole Information
- Par 5 - Stroke Index 9
- White Yards 481 - Yellow Yards 475
- Ladies - 472 Yards - Par 5 - SI 6
A Par 5 which could could be reached in two by bigger hitters.
Be aware though that out of bounds runs all the way down the right hand side of the hole.
There is a narrow entrance to the green which gets wider towards the back and a nasty pot bunker at the front left of the green has been remodelled for 2020.
4th Hole - The Quarry Hole
4th Hole Information
- Par 3 - Stroke Index 7
- White Yards 246 - Yellow Yards 241
- Ladies - 217 Yards - Par 3 - SI 13
Our signature hole needs a blind tee shot over a quarry side and the hole slopes slightly from left to right. Anything running at the pin will run off to the right.
It is a big, flat green to hit but three is always an excellent score for this par three that plays close to 250 yards.
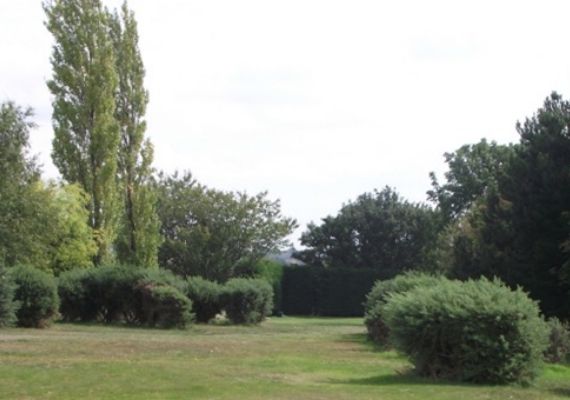
5th Hole - Sheep Pen
5th Hole Information
- Par 4 - Stroke Index 17
- White Yards 249 - Yellow Yards 241
- Ladies - 238 Yards - Par 4 - SI 16
The Sheep Pen is a short par 4 with a fairway that slopes from left to right. Out of bounds all down the right hand side.
The hole is well-bunkered and a recent addition of a ditch around 200 yards from the tee causes players to decide to pay up or attack the most sloping green on the track.
A two putt is always good with good pace judgement required to avoid a three-stab.
6th Hole - Blossom Rise
6th Hole Information
- Par 4 - Stroke Index 3
- White Yards 383 - Yellow Yards 375
- Ladies - 373 Yards - Par 4 - SI 1
This long par 4 has a slight dog leg to the right.
The fairway bunker on right catches those golfers trying to shorten the hole and an internal out of bounds up the right hand side of the hole penalises a wide hit.
This tough driving hole still requires a long second shot into a green with a new large pot bunker on the right and a bunker to the left.
7th Hole - Bunker Hollow
7th Hole Information
- Par 3 - Stroke Index 13
- White Yards 139 - Yellow Yards 126
- Ladies - 134 Yards - Par 3 - SI 14
This short par 3 is protected by 6 green side bunkers with a Mackenzie at the back of the green.
The hole is particularly tough when the wind is blowing as the tee shields golfers from the wind making club selection and aim very tricky indeed.
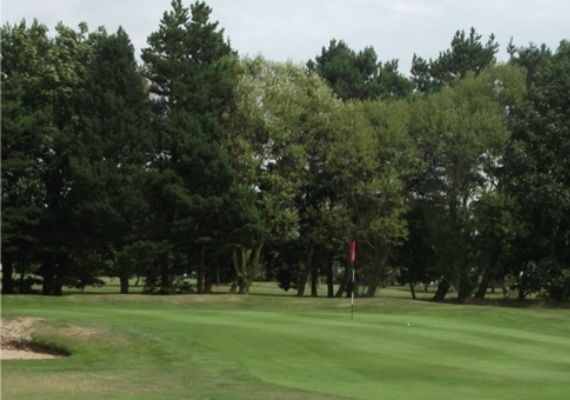
8th Hole - Squirrels Grove
8th Hole Information
- Par 3 - Stroke Index 10
- White Yards 191 - Yellow Yards 183
- Ladies - 189 Yards - Par 3 - SI 11
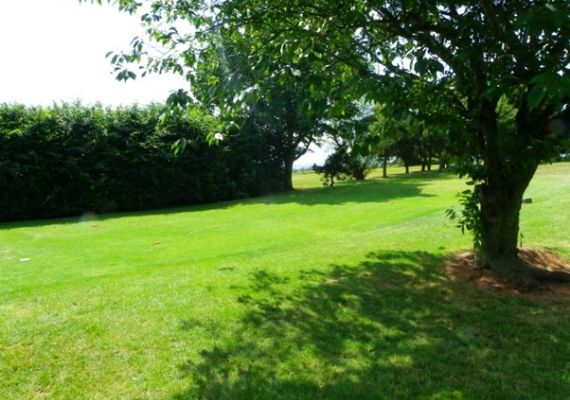
This tough par 3 is lined both sides with tall trees.
The green, which slopes towards you, is protected by two green side bunkers. The small undulating target makes it a tough hole to par.
9th Hole - Swailes Dale
9th Hole Information
- Par 5 - Stroke Index 12
- White Yards 533 - Yellow Yards 527
- Ladies - 418 Yards - Par 4 - SI 3
This hole requires an accurate tee shot to avoid trees lining both sides of the fairway. A par 5 for the gentlemen and a par 4 for the ladies from an advanced tee tucked in the trees to the right.
A good drive makes this hole reachable in two for the bigger hitter although a second or third shot requires some precision to miss three strategically placed fairway bunkers and a ditch that runs across the front of the green.
You approach shot is into a very big flat green, a few yards lower than the fairway. Getting it to a back pin always proves a challenge.
10th Hole - Laurels Reach
10th Hole Information
- Par 4 - Stroke Index 16
- White Yards 256 - Yellow Yards 251
- Ladies - 184 Yards - Par 3 - SI 8
Playing our first hole for the second time, now the 10th, you are once again faced with a par 4 although this time it plays as a 3 for the ladies.
Longer hitters can drive the green but with danger left and right it is a classic risk and reward play. Shorter hitters can choose to hit a tee shot somewhere around the fairway bunker on left which then leaves a shot of around 80 yards to the green.
Look out for high rough to the left and behind the green which penalises any wayward strikes.
11th Hole - The Battery

11th Hole Information
- Par 4 - Stroke Index 2
- White Yards 421 - Yellow Yards 406
- Ladies - 411 Yards - Par 5 - SI 9
Our second hole, second time around, now plays as a par 5 for the ladies.
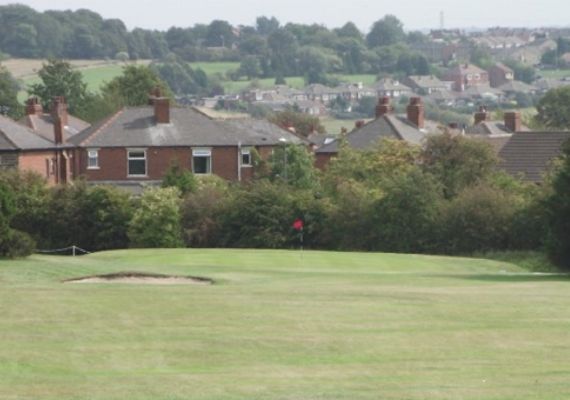
Getting through this hole without spoiling your card can set you up for the back nine.
In summer this exposed green can run extremely fast making approach shots and putts a challenge.
12th Hole - The Wild West
12th Hole Information
- Par 4 - Stroke Index 5
- White Yards 439 - Yellow Yards 434
- Ladies - 472 Yards - Par 5 - SI 10
The ladies play this hole again as a par 5 with the gentleman now playing the hole from a forward tee as a par 4.
This makes for a tough par with two good shots required to reach the green in two. The hole is well protected with trees and rough down the left and out of bounds to the right.
The green is long and narrow so take care to spot the pin when selecting your club for short approach shots.
13th Hole - High Tee
13th Hole Information
- Par 3 - Stroke Index 8
- White Yards 249 - Yellow Yards 244
- Ladies - 196 Yards - Par 3 - SI 18
This time The Quarry is played from a higher tee which doesn’t do much to the length of the hole but changes the angle of attack.
Balls that land short tend to run down the slope to the right so keep this in mind when teeing off. Shots that are aimed straight at the pin often end up in the rough on the right.
14th Hole - Lower Sheep Pen

14th Hole Information
- Par 4 - Stroke Index 18
- White Yards 235 - Yellow Yards 233
- Ladies - 233 Yards - Par 4 - SI 17
The Sheep Pen is played this time from a lower tee which changes the angle of attack.
The slight decrease in yardage from the first time around may make taking the green on more attractive.
Beware of the four bunkers and ditch that protect the green. Missing left leaves a tough pitch onto a green that runs away from you.
15th Hole - Blossom Rise
15th Hole Information
- Par 4 - Stroke Index 4
- White Yards 383 - Yellow Yards 375
- Ladies - 329 Yards - Par 4 - SI 2
The final par 4 on our course. A good tee shot will have you in the centre of the fairway, around the bunker to the right of the fairway or even beyond that. Longer hitters need to be careful not to run out of room on the dog leg.
The second shot is uphill and if there is wind about it can play much longer than the yardage on your watch.
16th Hole - Bunker Hollow
16th Hole Information
- Par 3 - Stroke Index 14
- White Yards 139 - Yellow Yards 126
- Ladies - 120 Yards - Par 3 - SI 15
A second opportunity to play this well-bunkered par 3.
This hole can play 3-4 clubs different depending on the wind so club selection is key. Low shots can take the wind out of play but two large bunkers at the front of the green catch anything that comes up short.
A solid tee shot can leave a good opportunity for a 2 but anything that misses the green leaves a tough up-and-down for par.
17th Hole - The Pines
17th Hole Information
- Par 3 - Stroke Index 11
- White Yards 191 - Yellow Yards 183
- Ladies - 189 Yards - Par 3 - SI 12
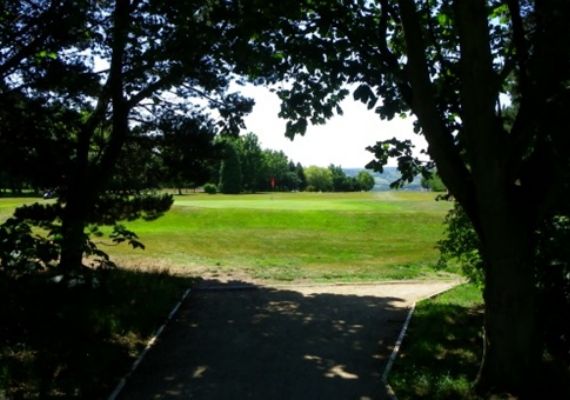
The last par 3 on the course requires a long accurate tee shot. A ditch runs approximately 50 yards in front of the green which must be negotiated carefully.
The green slopes towards you so good golf shots are usually rewarded with a birdie chance. Shots wide of the mark bring into play two difficult bunkers and banks to work around.
18th Hole - Peewits Call
18th Hole Information
- Par 5 - Stroke Index 6
- White Yards 598 - Yellow Yards 596
- Ladies - 533 Yards - Par 5 - SI 4
The final hole at Hanging Heaton is a long par 5 that plays close to 600 yards. The tee is reached by crossing the 3rd/12th fairways and the resulting drive requires one of accuracy.
Out of bounds to the left (the 2nd/11th fairway) makes this drive even tougher, especially if you have a card going.
Three good shots are usually required to reach this green and a final par is always a good score to finish with.